If your Normatec has given you an error message, please complete these troubleshooting tests and share your results with us right away. This helps us identify the correct next steps and to assist our team in the repair process.
Test 1 (Attachments): To test the device and attachments.
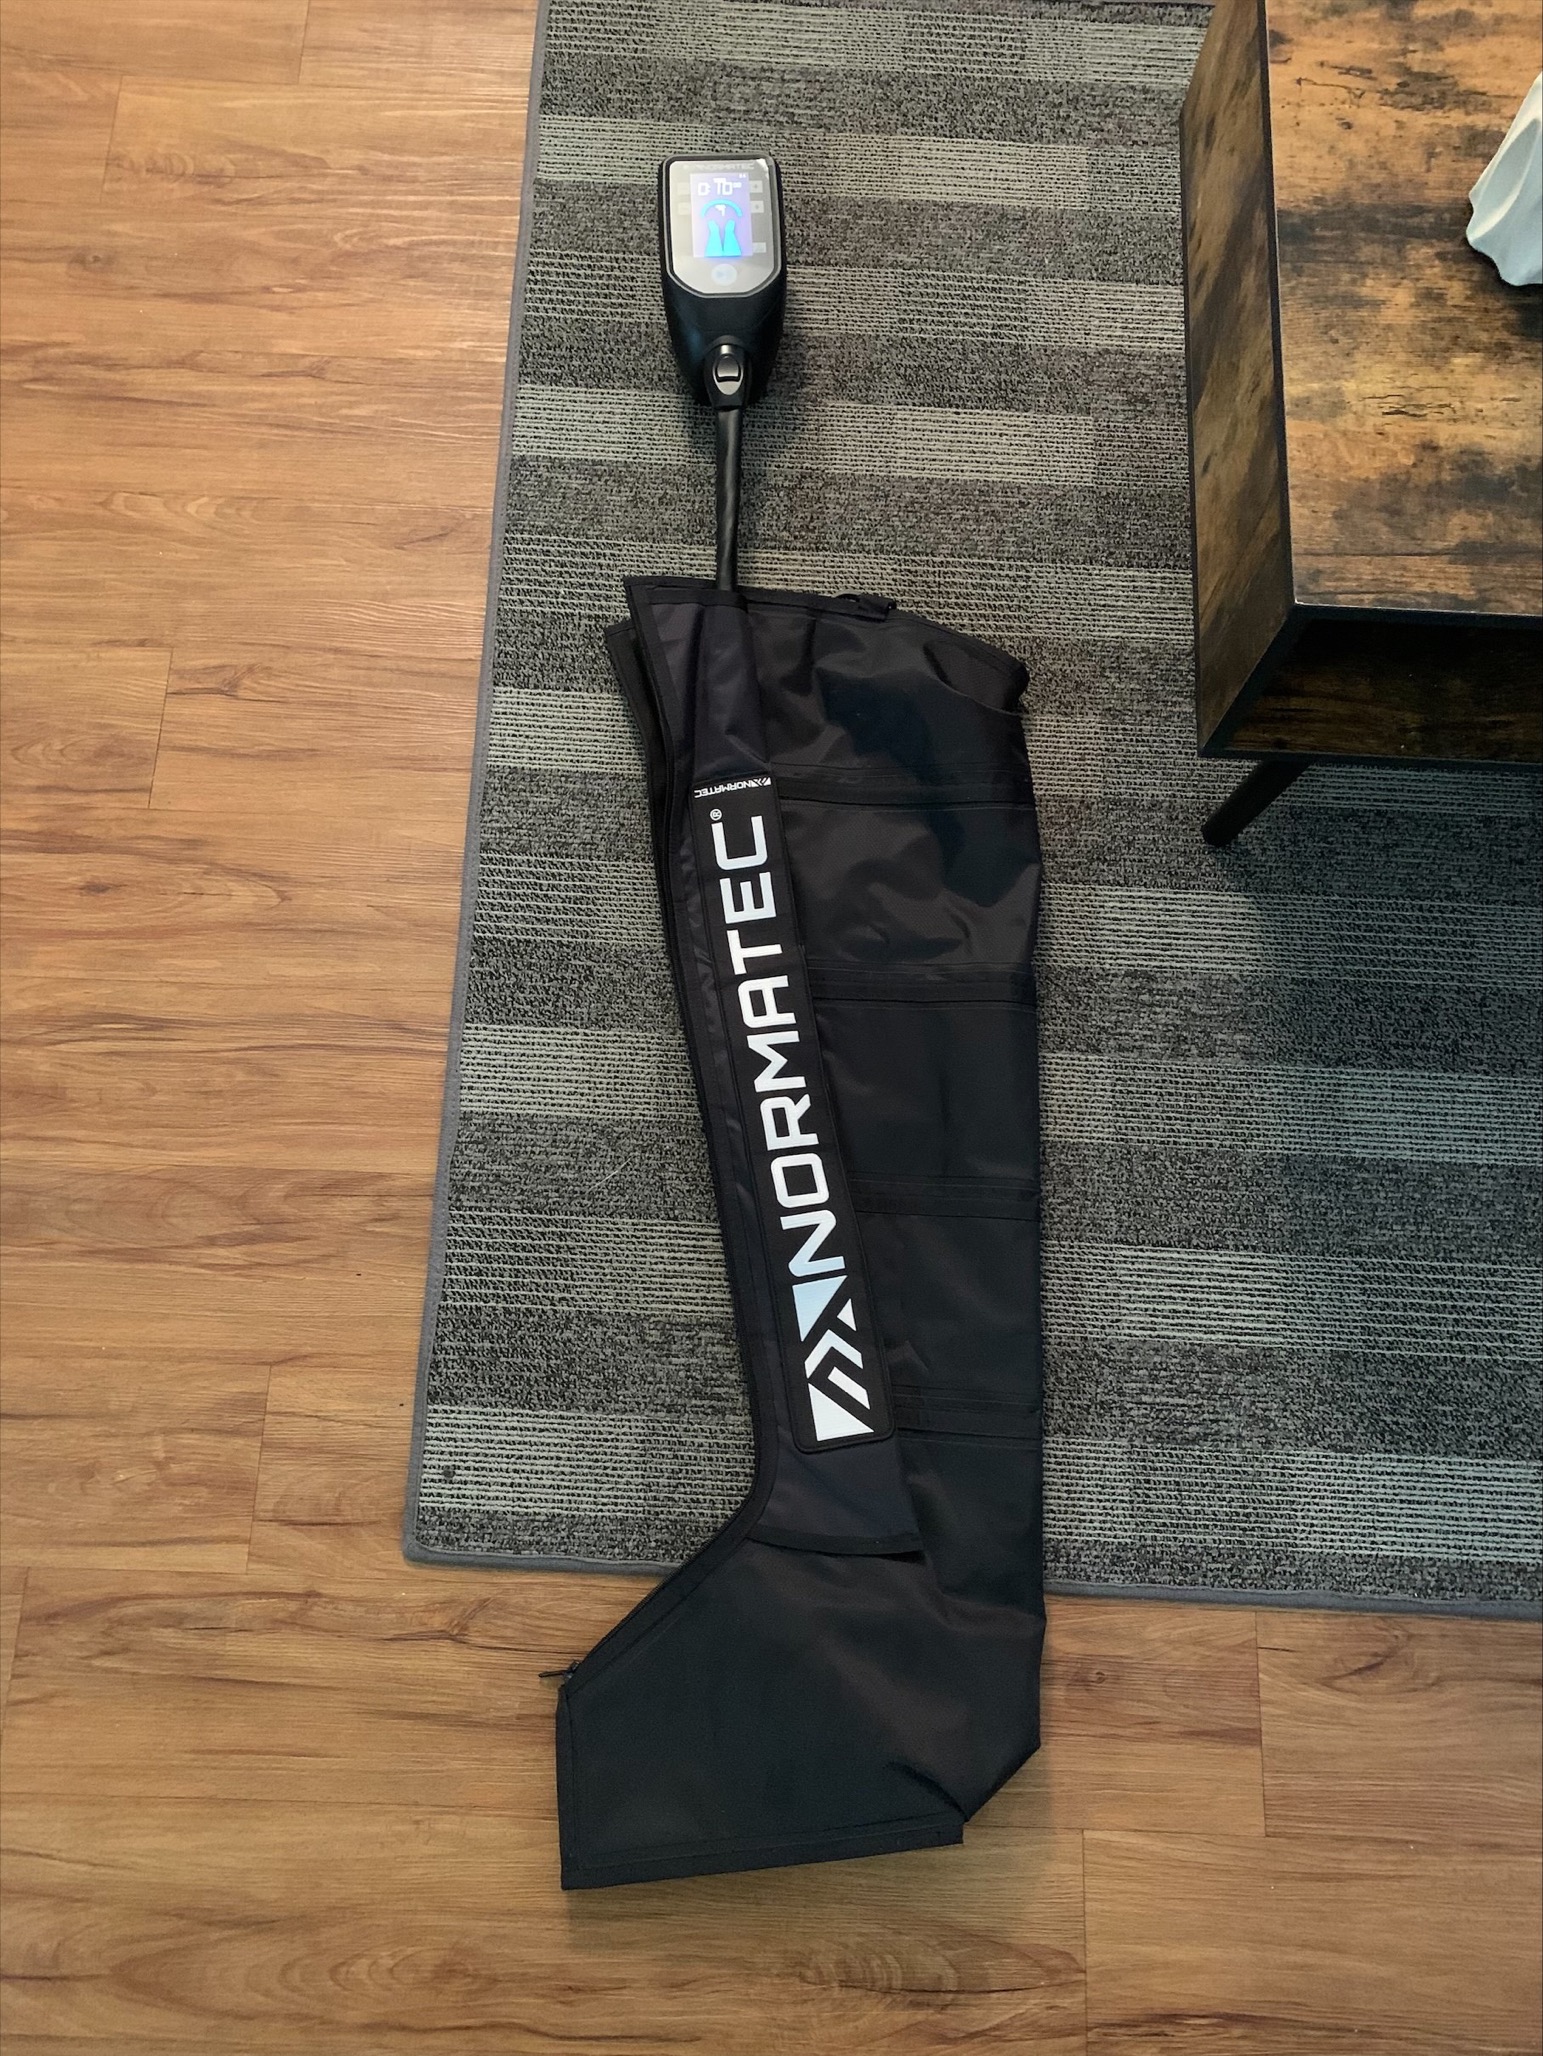
You will just need the device and both boots/attachments for this test. Please do NOT wear the boots/attachments during the test.
See the image below and follow these steps:
1. Power the device on and set the pressure to the highest level. Timer does not matter
2. Take 1 boot, zip it all the way up, and plug it directly into the machine (Do not use the long connecting hose)
3. Run the machine for about 2-3 min. Inflate until all chambers are filled or until you get an err message, switch boots and repeat
4. If you RECEIVED an error message, then the issue is likely with the boot/arm attachment connected to the device when the error occurred. Please continue with the other tests, if you pass both without error, the issue with the boot/arm attachment connected to the device when the error occurred.
5. If you did NOT receive an Error during this test, then the issue is likely with the hose. Test 3 will confirm.
Test 2 (Device Unit): To test the device unit.
You will just need the device during the test. (Please click on Test 2 video link below)
1. Start by powering the system on without connecting the Hose or any Boots/Attachments to the Device.
2. Start the airflow as you normally would, you’ll feel the airflow start to come out of the insert on the top left circular connector hole.
3. Place your finger over this connector to block the airflow. The system will detect your blocking and proceed to the next chamber, which is directly to the right, following to the third and then bottom left (4th) and bottom right (5th).
4. Follow these same steps for each of the 5 connector holes in a clockwise direction until you have blocked all 5 separately (you only need to put your finger over one connector at a time).
5. The airflow will move to the next connector once it detects your finger.
6. If this test fails and you received an error message, then the issue is the device unit.
Test 3 (Hose): To test the hose.
You will just need the device and hose for this test. (Please click on the Test 3 video link below)
1. If Test 2 passes, then we must do the same exact thing but now using the hose (cover one hole at a time moving left to right/top to bottom.)
2. You’ll connect the Hose and use the Blocking Plug to block off one side of the dual end of the Hose. The Blocking Plug is located on the back of where you’d connect the attachments. Look for a small rubber piece.
3. You can block either side, it won’t matter.
4. If you try and block the insert and air continues to come out, then we may have found the issue with the hose.
5. If you RECEIVED an error message, then the issue is with the hose.
Test 4 (Hip Attachment)
If you pass all of these tests without error but still receive an error message when using the Hip attachment only, the issue is can be isolated to the Hip attachment.
We hope to hear from you soon!